Bootstrap Login forms Layout
Overview
Sometimes we desire to take care of our precious web content to provide access to only certain people to it or dynamically customise a part of our internet sites baseding on the certain customer that has been simply observing it. But how could we possibly know each specific website visitor's persona considering that there are so many of them-- we should get an reliable and straightforward approach getting to know who is who.
This is where the site visitor accessibility monitoring comes along initially communicating with the website visitor with the so familiar login form element. Inside newest 4th edition of the most popular mobile friendly web page creation framework-- the Bootstrap 4 we have a lots of components for creating such forms and so what we are certainly going to do right here is taking a look at a detailed sample how can a basic login form be produced using the useful instruments the latest version comes along with. ( check this out)
Effective ways to employ the Bootstrap Login forms Design:
For starters we need a
<form>Inside of it some
.form-groupNormally it's more convenient to employ visitor's email as opposed to making them identify a username to confirm to you since normally anybody understands his e-mail and you are able to constantly question your visitors another time to specifically deliver you the way they would certainly like you to address them. So inside of the first
.form-group<label>.col-form-labelfor = " ~ the email input which comes next ID here ~ "Next we need an
<input>type = "email"type="text"id=" ~ some short ID here ~ ".form-controltypeNext comes the
.form-group<label>.col-form-labelfor= " ~ the password input ID here ~ "<input>Next goes the
.form-group<label>.col-form-labelfor= " ~ the password input ID here ~ "<input>Next we need to state an
<input>.form-controltype="password"id= " ~ should be the same as the one in the for attribute of the label above ~ "Ultimately we need a
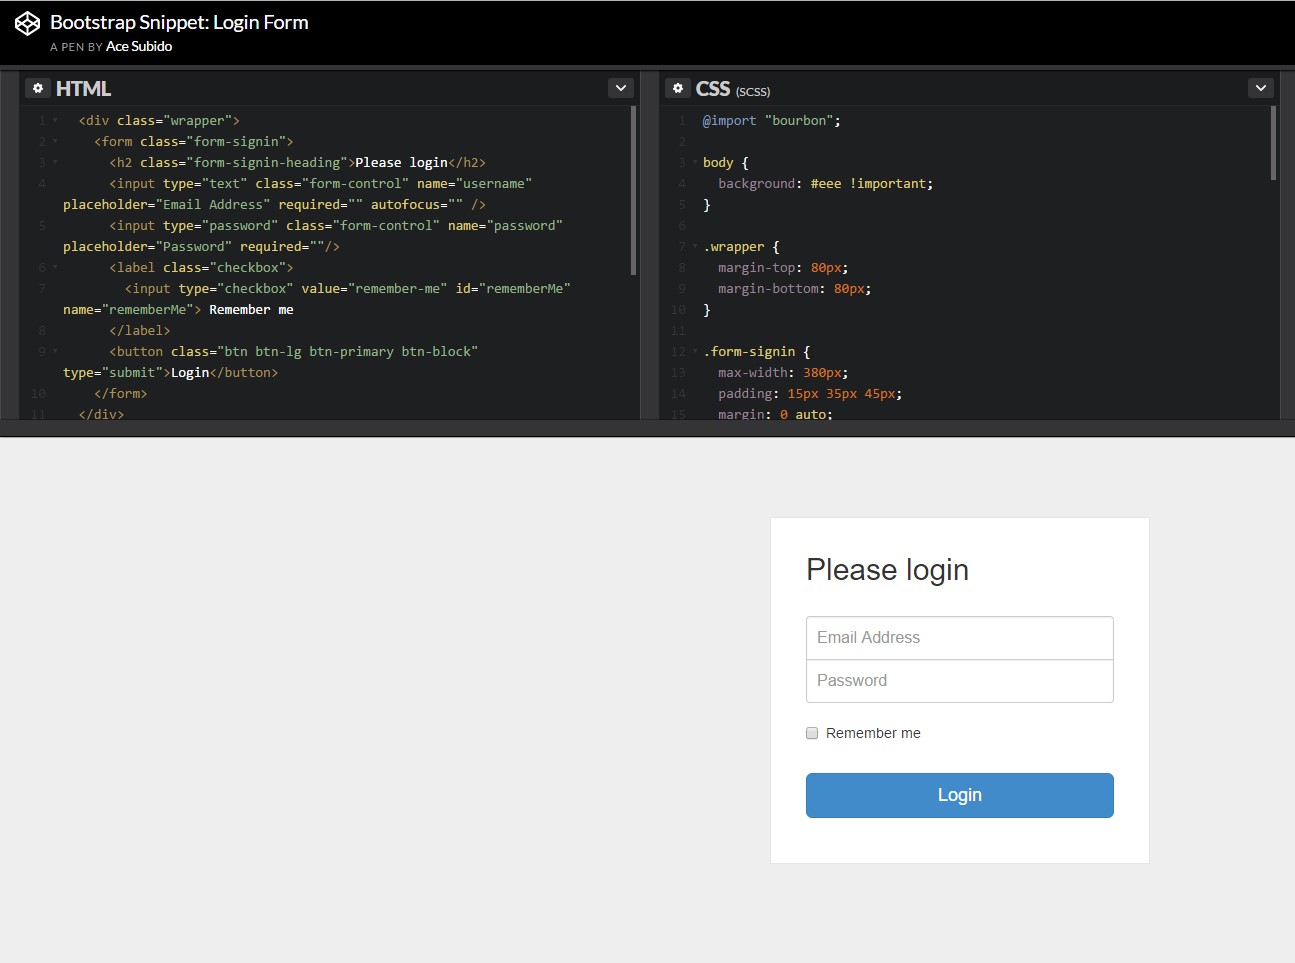
<button>type="submit"Some example of login form
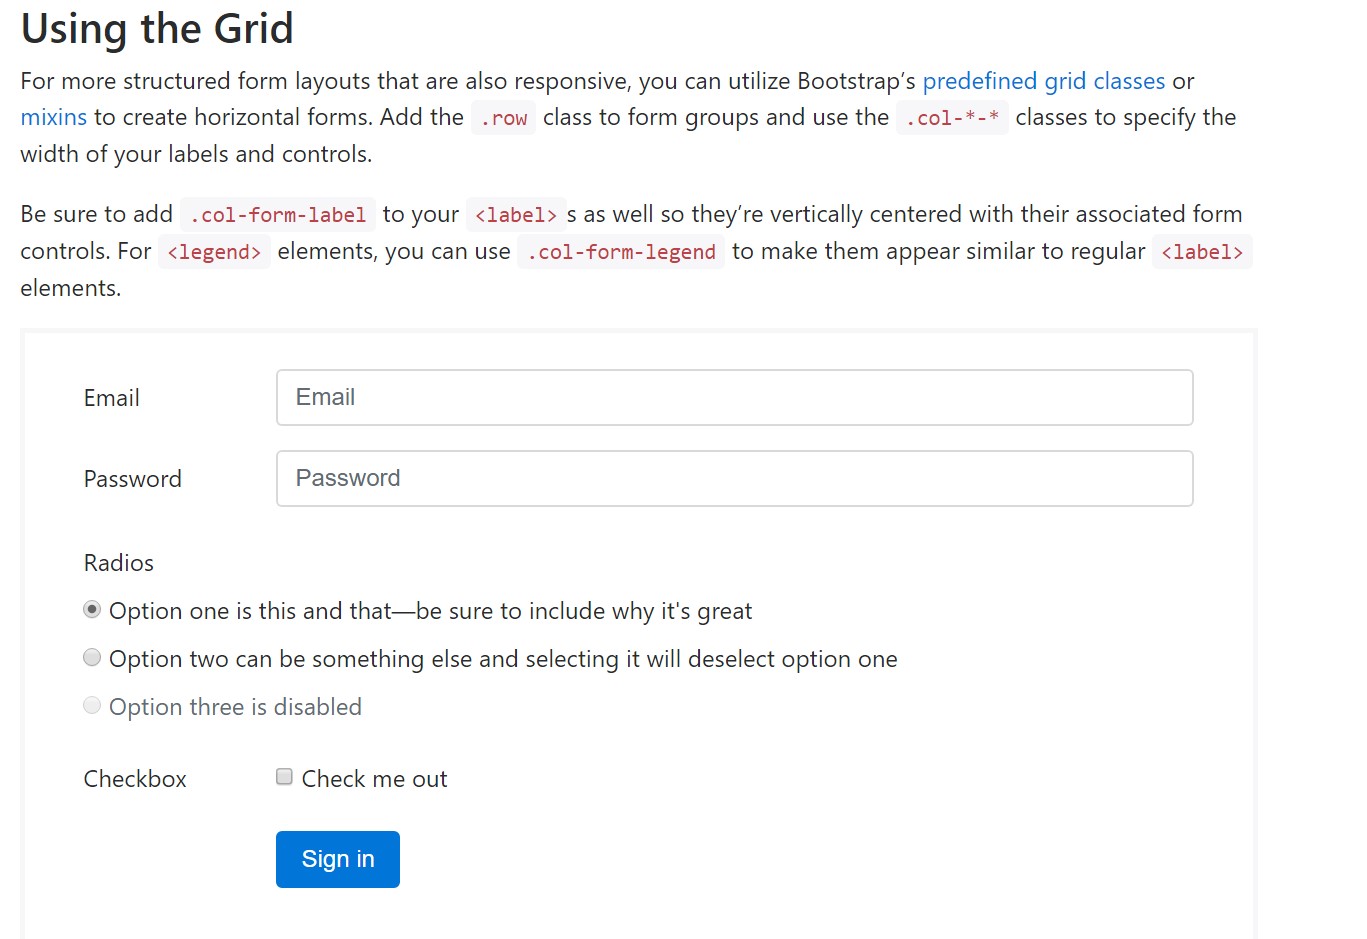
For more organized form layouts that are also responsive, you can absolutely make use of Bootstrap's predefined grid classes alternatively mixins to build horizontal forms. Include the
. row.col-*-*Be sure to add
.col-form-label<label><legend>.col-form-legend<label>
<div class="container">
  <form>
    <div class="form-group row">
      <label for="inputEmail3" class="col-sm-2 col-form-label">Email</label>
      <div class="col-sm-10">
        <input type="email" class="form-control" id="inputEmail3" placeholder="Email">
      </div>
    </div>
    <div class="form-group row">
      <label for="inputPassword3" class="col-sm-2 col-form-label">Password</label>
      <div class="col-sm-10">
        <input type="password" class="form-control" id="inputPassword3" placeholder="Password">
      </div>
    </div>
    <fieldset class="form-group row">
      <legend class="col-form-legend col-sm-2">Radios</legend>
      <div class="col-sm-10">
        <div class="form-check">
          <label class="form-check-label">
            <input class="form-check-input" type="radio" name="gridRadios" id="gridRadios1" value="option1" checked>
            Option one is this and that—be sure to include why it's great
          </label>
        </div>
        <div class="form-check">
          <label class="form-check-label">
            <input class="form-check-input" type="radio" name="gridRadios" id="gridRadios2" value="option2">
            Option two can be something else and selecting it will deselect option one
          </label>
        </div>
        <div class="form-check disabled">
          <label class="form-check-label">
            <input class="form-check-input" type="radio" name="gridRadios" id="gridRadios3" value="option3" disabled>
            Option three is disabled
          </label>
        </div>
      </div>
    </fieldset>
    <div class="form-group row">
      <label class="col-sm-2">Checkbox</label>
      <div class="col-sm-10">
        <div class="form-check">
          <label class="form-check-label">
            <input class="form-check-input" type="checkbox"> Check me out
          </label>
        </div>
      </div>
    </div>
    <div class="form-group row">
      <div class="offset-sm-2 col-sm-10">
        <button type="submit" class="btn btn-primary">Sign in</button>
      </div>
    </div>
  </form>
</div>
Final thoughts
Primarily these are the major features you'll want to generate a standard Bootstrap Login forms Design through the Bootstrap 4 system. If you angle for some extra challenging appearances you're free to take a complete benefit of the framework's grid system organizing the components pretty much any way you would think they must occur.
Check several online video short training regarding Bootstrap Login forms Dropdown:
Related topics:
Bootstrap Login Form official documentation
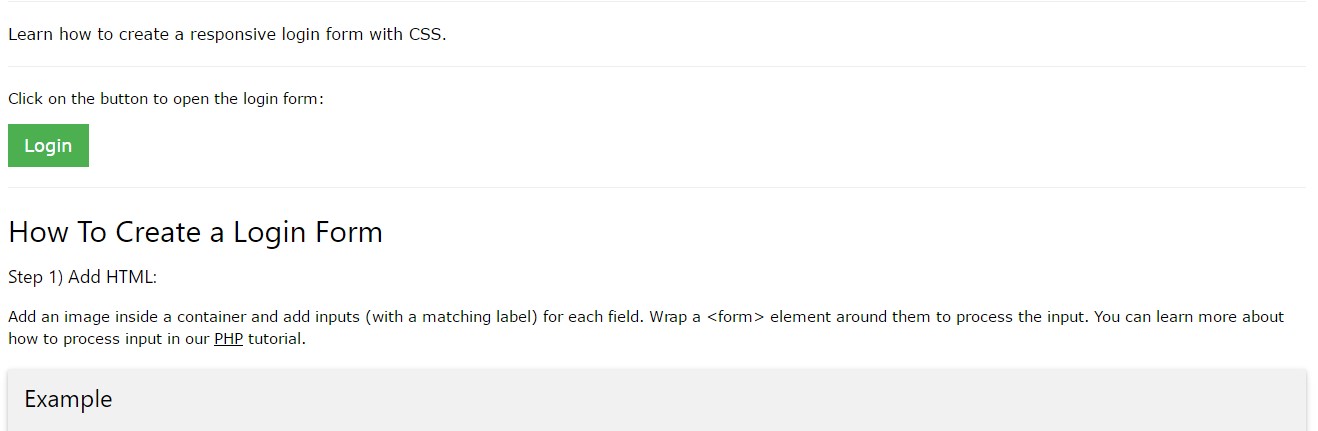
Information:How To Create a Bootstrap Login Form
Another example of Bootstrap Login Form