Bootstrap Radio Example
Introduction
From time to time the little things happen to be simply the very most important due to the fact that the whole entire image is in fact a all consisting of a lot of tiny aspects finished and gathered to present and check just as a well-oiled bright machine. Such strong phrases might probably seem a little too much whenever it comes to form controls yet assuming that you just consider about it for a little there is only a single element helping the visitor to get one amongst a several accessible possibilities.So in the event that you're possessing some forms by having this kind of solutions controls over your different websites does this guarantee they will all look equivalent? And most significantly-- would you agree to that?
Happily for us the most recent version of the most well-known mobile phone friendly framework - Bootstrap 4 appears completely stuffed with a brilliant brand-new solution to the responsive behavior of the Bootstrap Radio Toggle controls and just what is bright new for this version-- the so called customized form commands-- a palette of predefined appearances you can surely just bring and operate just to include the so preferred at presents assortment in the functional presentations of more or less boring form parts. And so let's check out how the radio buttons are planned to be described and designated in Bootstrap 4. ( see post)
Effective ways to employ the Bootstrap radio button:
If you want to generate a radio tab we first need to have a
<div>.form-check.form-check-inline.radio.radio-inline.disabledInside the
.form-check<label>.form-check-label<input>.form-check-inputtype = “radio”name = “ ~ same name for all the options ~ ”id = “ ~ unique ID ~ “value=” ~some value here ~ ”disabled<input>This is in addition the location to determine in the case that you want the radio control to primarily load as checked the moment the web page gets loaded. Assuming that this is actually what you're after-- as an alternative to
disabledchecked<input>checkedCheckbox and Bootstrap Radio Value situations
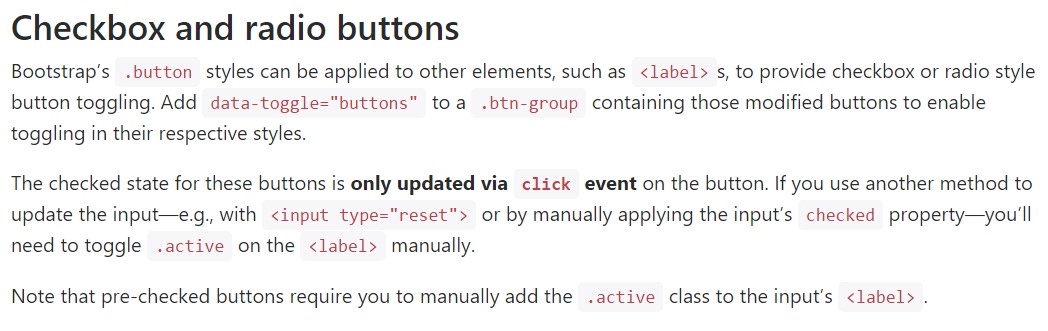
The examined condition for these kinds of buttons is only up-dated with click event on the button. If you put into action another procedure to modify the input-- e.g., with
<input type="reset">.active<label>Bear in mind that pre-checked buttons need you to manually bring in the
.active<label>Checkbox

<div class="btn-group" data-toggle="buttons">
  <label class="btn btn-primary active">
    <input type="checkbox" checked autocomplete="off"> Checkbox 1 (pre-checked)
  </label>
  <label class="btn btn-primary">
    <input type="checkbox" autocomplete="off"> Checkbox 2
  </label>
  <label class="btn btn-primary">
    <input type="checkbox" autocomplete="off"> Checkbox 3
  </label>
</div>
Radio

<div class="btn-group" data-toggle="buttons">
  <label class="btn btn-primary active">
    <input type="radio" name="options" id="option1" autocomplete="off" checked> Radio 1 (preselected)
  </label>
  <label class="btn btn-primary">
    <input type="radio" name="options" id="option2" autocomplete="off"> Radio 2
  </label>
  <label class="btn btn-primary">
    <input type="radio" name="options" id="option3" autocomplete="off"> Radio 3
  </label>
</div>
Radio button approach
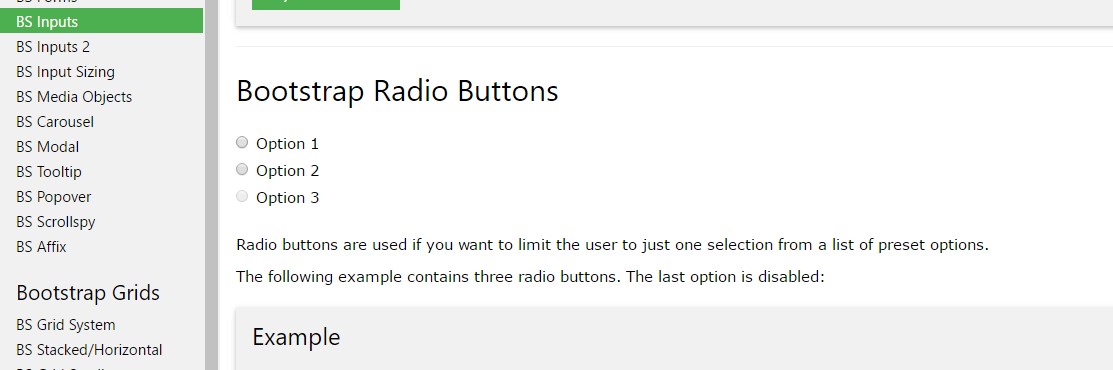
As we need the site visitor to pick out just one of a set of methods, we can absolutely put to use input features of the radio form. ( additional info)
Anytime there is more than just one element of this particular form with the exact same value inside the name attribute, just one can possibly be chosen.

<div class="row">
  <div class="col-lg-6">
    <div class="input-group">
      <span class="input-group-addon">
        <input type="checkbox" aria-label="Checkbox for following text input">
      </span>
      <input type="text" class="form-control" aria-label="Text input with checkbox">
    </div>
  </div>
  <div class="col-lg-6">
    <div class="input-group">
      <span class="input-group-addon">
        <input type="radio" aria-label="Radio button for following text input">
      </span>
      <input type="text" class="form-control" aria-label="Text input with radio button">
    </div>
  </div>
</div>
Final thoughts
Basically this is the approach the default radio switches get identified and carry on throughout in Bootstrap 4-- in a moment all you really need are some possibilities for the users to select from.
Examine a number of video guide relating to Bootstrap Radio Button:
Connected topics:
Bootstrap buttons authoritative information
Bootstrap Radio button - short training
Checkbox radio buttons break entire toolbar styling
